Pivotal Web Services, SSL, and a Custom Domain
Pivotal Web Services (PWS) is a great place to set up push button deployments. It's cheaper than Heroku and has some great features.
Jan 1, 2020

Pivotal Web Services (PWS) is a great place to set up push button deployments. It's cheaper than Heroku and has some great features. One place it falls short is offering free SSL for custom domains; you can't even upload your SSL cert without shelling out $20/month.
Luckily there is an effortless way to get SSL up and running for free using CloudFlare.
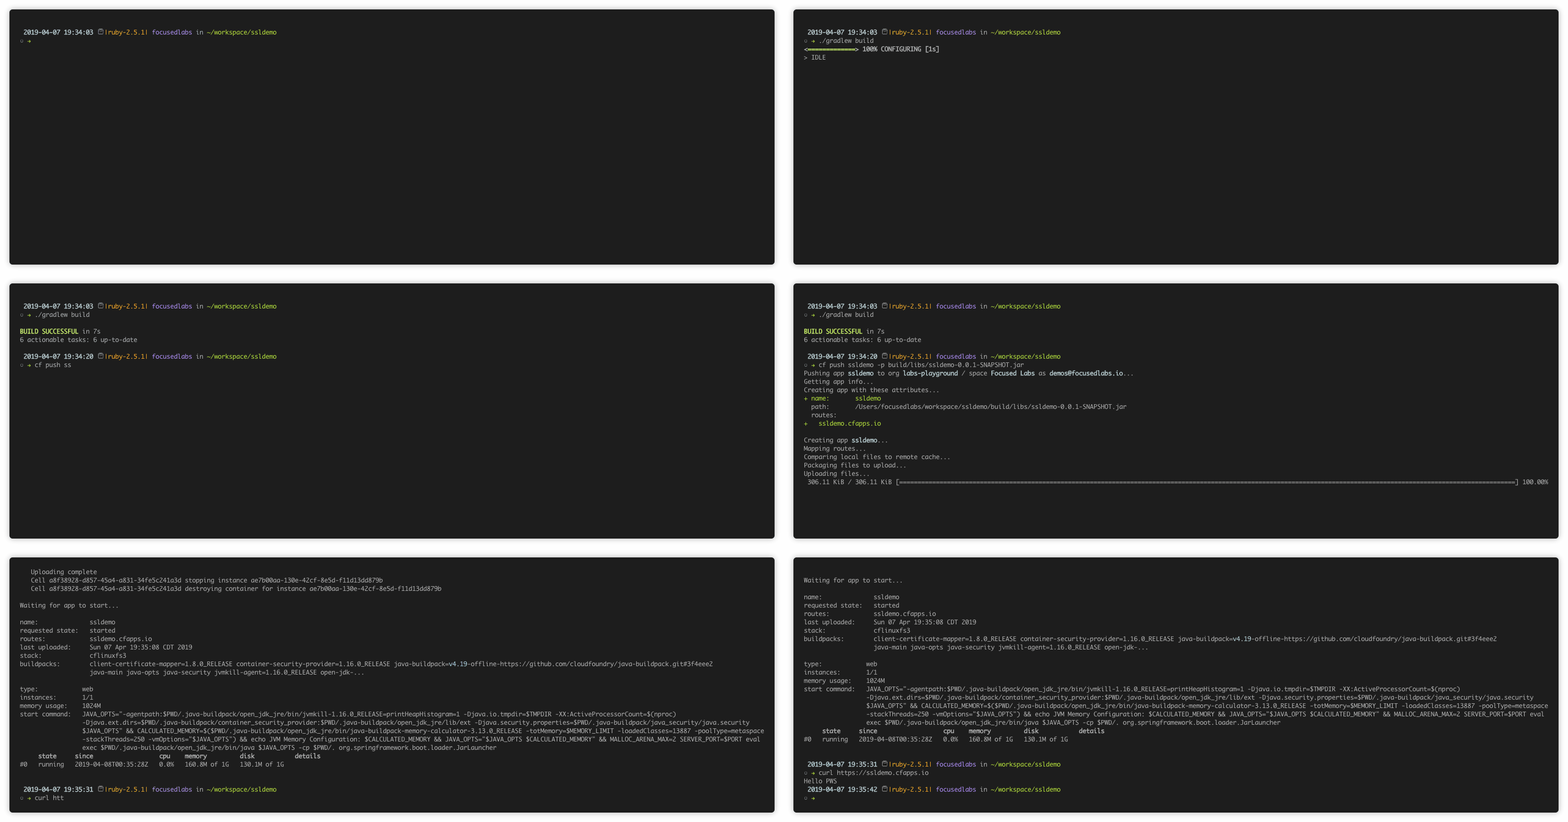
Deploy something to PWS
If you don't have a PWS account, create one at https://run.pivotal.io and download the cf command line tool.
On Mac
Now that you have an account let's create a super simple SpringBoot Kotlin app.
Now you have an app and a PWS account so let's push this thing up. Assuming you have an org and space set up already.

Everything should deploy, and your app should be up and running at a *.cfapps.io domain.
Setup a custom route
In order of PWS to know to route your domain to your app, you need to set up a custom domain. You can either use the web UI or the CLI. To use the CLI use the cf create-domain and cf create-route commands.
DNS stuff
Just because we have mapped the route doesn't mean everything is wired, we still have one more step, configure a DNS CNAME to route to our newly deployed service.

This guide assumes your DNS is already managed by CloudFlare. If it's can migrate over to them really easily.
In the CloudFlare DNS management panel add a new CNAME record and you're all set.

